
The hair has been an element which revolutionizes the Carp Fishing, giving the anglers the possibility of presenting the bait in a complete different way, enhancing its effectiveness. It was conceived long time ago, in 1979, by Kevin Maddocks and Lenny Middelton. Before its appearance the bait was prepared directly on the hook, losing part of the sticking capacity. The hair permits the bait to hang directly from the hook, reducing drastically the sticking problem faced until its appearance. The hook has been tied up under the rig, leaving an exceeding thread end. At this end we should make a knot where we must fix the bait. At its conception the inventors used a real “hair”, which was tied at hook’s bend.
To prepare the hook with the hair-rig we can choose different knot types, but the most common is the knotless-knot. Now we are going to prepare the hair-rig (hook and thread end) and to approach to the process we are going to show it step by step with some photographs. You can follow the assembly in the sequence at the bottom of the article.
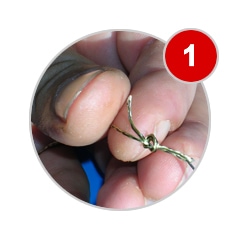
First of all we should have all the required materials close to ourselves, so it will be easier than looking for the thread or the hook afterwards. Now we have to make a loop at the thread’s end. As you can see we are using a braided thread, the most commonly used for preparing hair-rigs. The thread used should have around 40 cms. length. Once all the knots are done the total length should be around 25 cms., depending on knots type used.
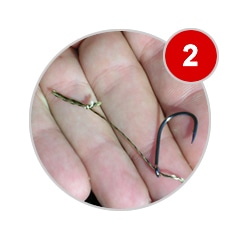
As you can see we are using ring hooks. For a better fixing we should pass twice the thread through the ring and tighten it until we get the expected length, depending on the boilies we wish to use. The best way to go ahead with the hair assembly is by using both hands. Afterwards we will do the required loops to the hook with the braided thread, ensuring we have the hair fixed correctly. We suggest to do 3-4 tighten loops more under the hair.
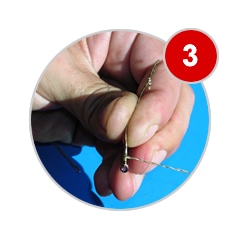
As the culmination of the knot we will pass the thread end through the ring. The knot itself is already finished, but we suggest applying a cyanocrilate drop to ensure even more the fixing. The knotless-knot it’s really safe knot, as it auto-fix itself. The harder you pull, the stronger it becomes.
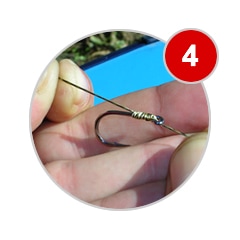
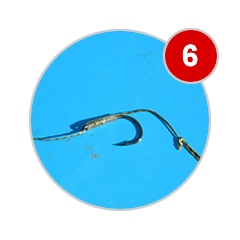
Has the hair-rig will be in contact directly with the lake bed and it’s highly exposed to scratches, we cover the hook with termoreductible pvc tube. We have to submerge the hook for some seconds in boiling water and the plastic compresses itself, tighten the knot.
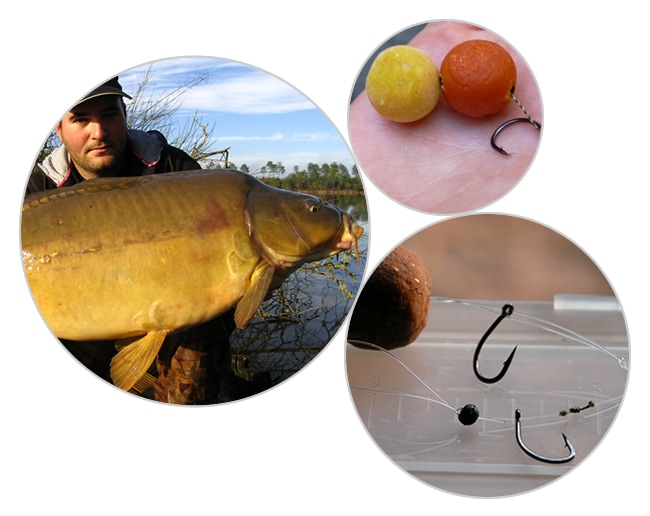
There’s no easier thing than inserting the particle/boilie once the hook and hair-rig are already prepared. To this purpose we will use a boilie needle. We will prick the boilie and afterwards cross the needle trough the knot. Now we will pass the particle/boilie from one side to the other, taking care of keeping the hair-rig tighten to facilitate the action. To ensure the particle/boilie remains in a proper way we will use a small plastic piece, known as stopper. We should press it against the particle/boilie. If all the steps have been done properly we can throw away the particle/boilie as far as we desire without any risk dismantling.
The hair doesn’t have an established length. We can use different bolilies sizes, or combine some of them. Depending on the case we will prepare the hair-rig with a different length. For a 20 mm. boilie the hair-rig’s length should be around the same (20 mm.) taken from the hook’s bend. If we use two 15 mm. boilies, the hair-rig’s length will be around 30 mm.


